Figuring out how to use Sensor in Wuthering Waves is one of those small things that makes a huge difference once it clicks. A lot of Rovers either forget it exists or assume it works like the game's other exploration gadgets, which is where most of the confusion starts. In reality, the Sensor is a core utility in Kuro Games' open-world action RPG, built to reveal hidden chests, quest objects, and certain interactables within a set scan radius. Whether you're still combing through Jinzhou or pushing into the Roya Frostlands added in Version 3.1, it can save you a lot of pointless wandering around Solaris-3.

How to Use Sensor in Wuthering Waves
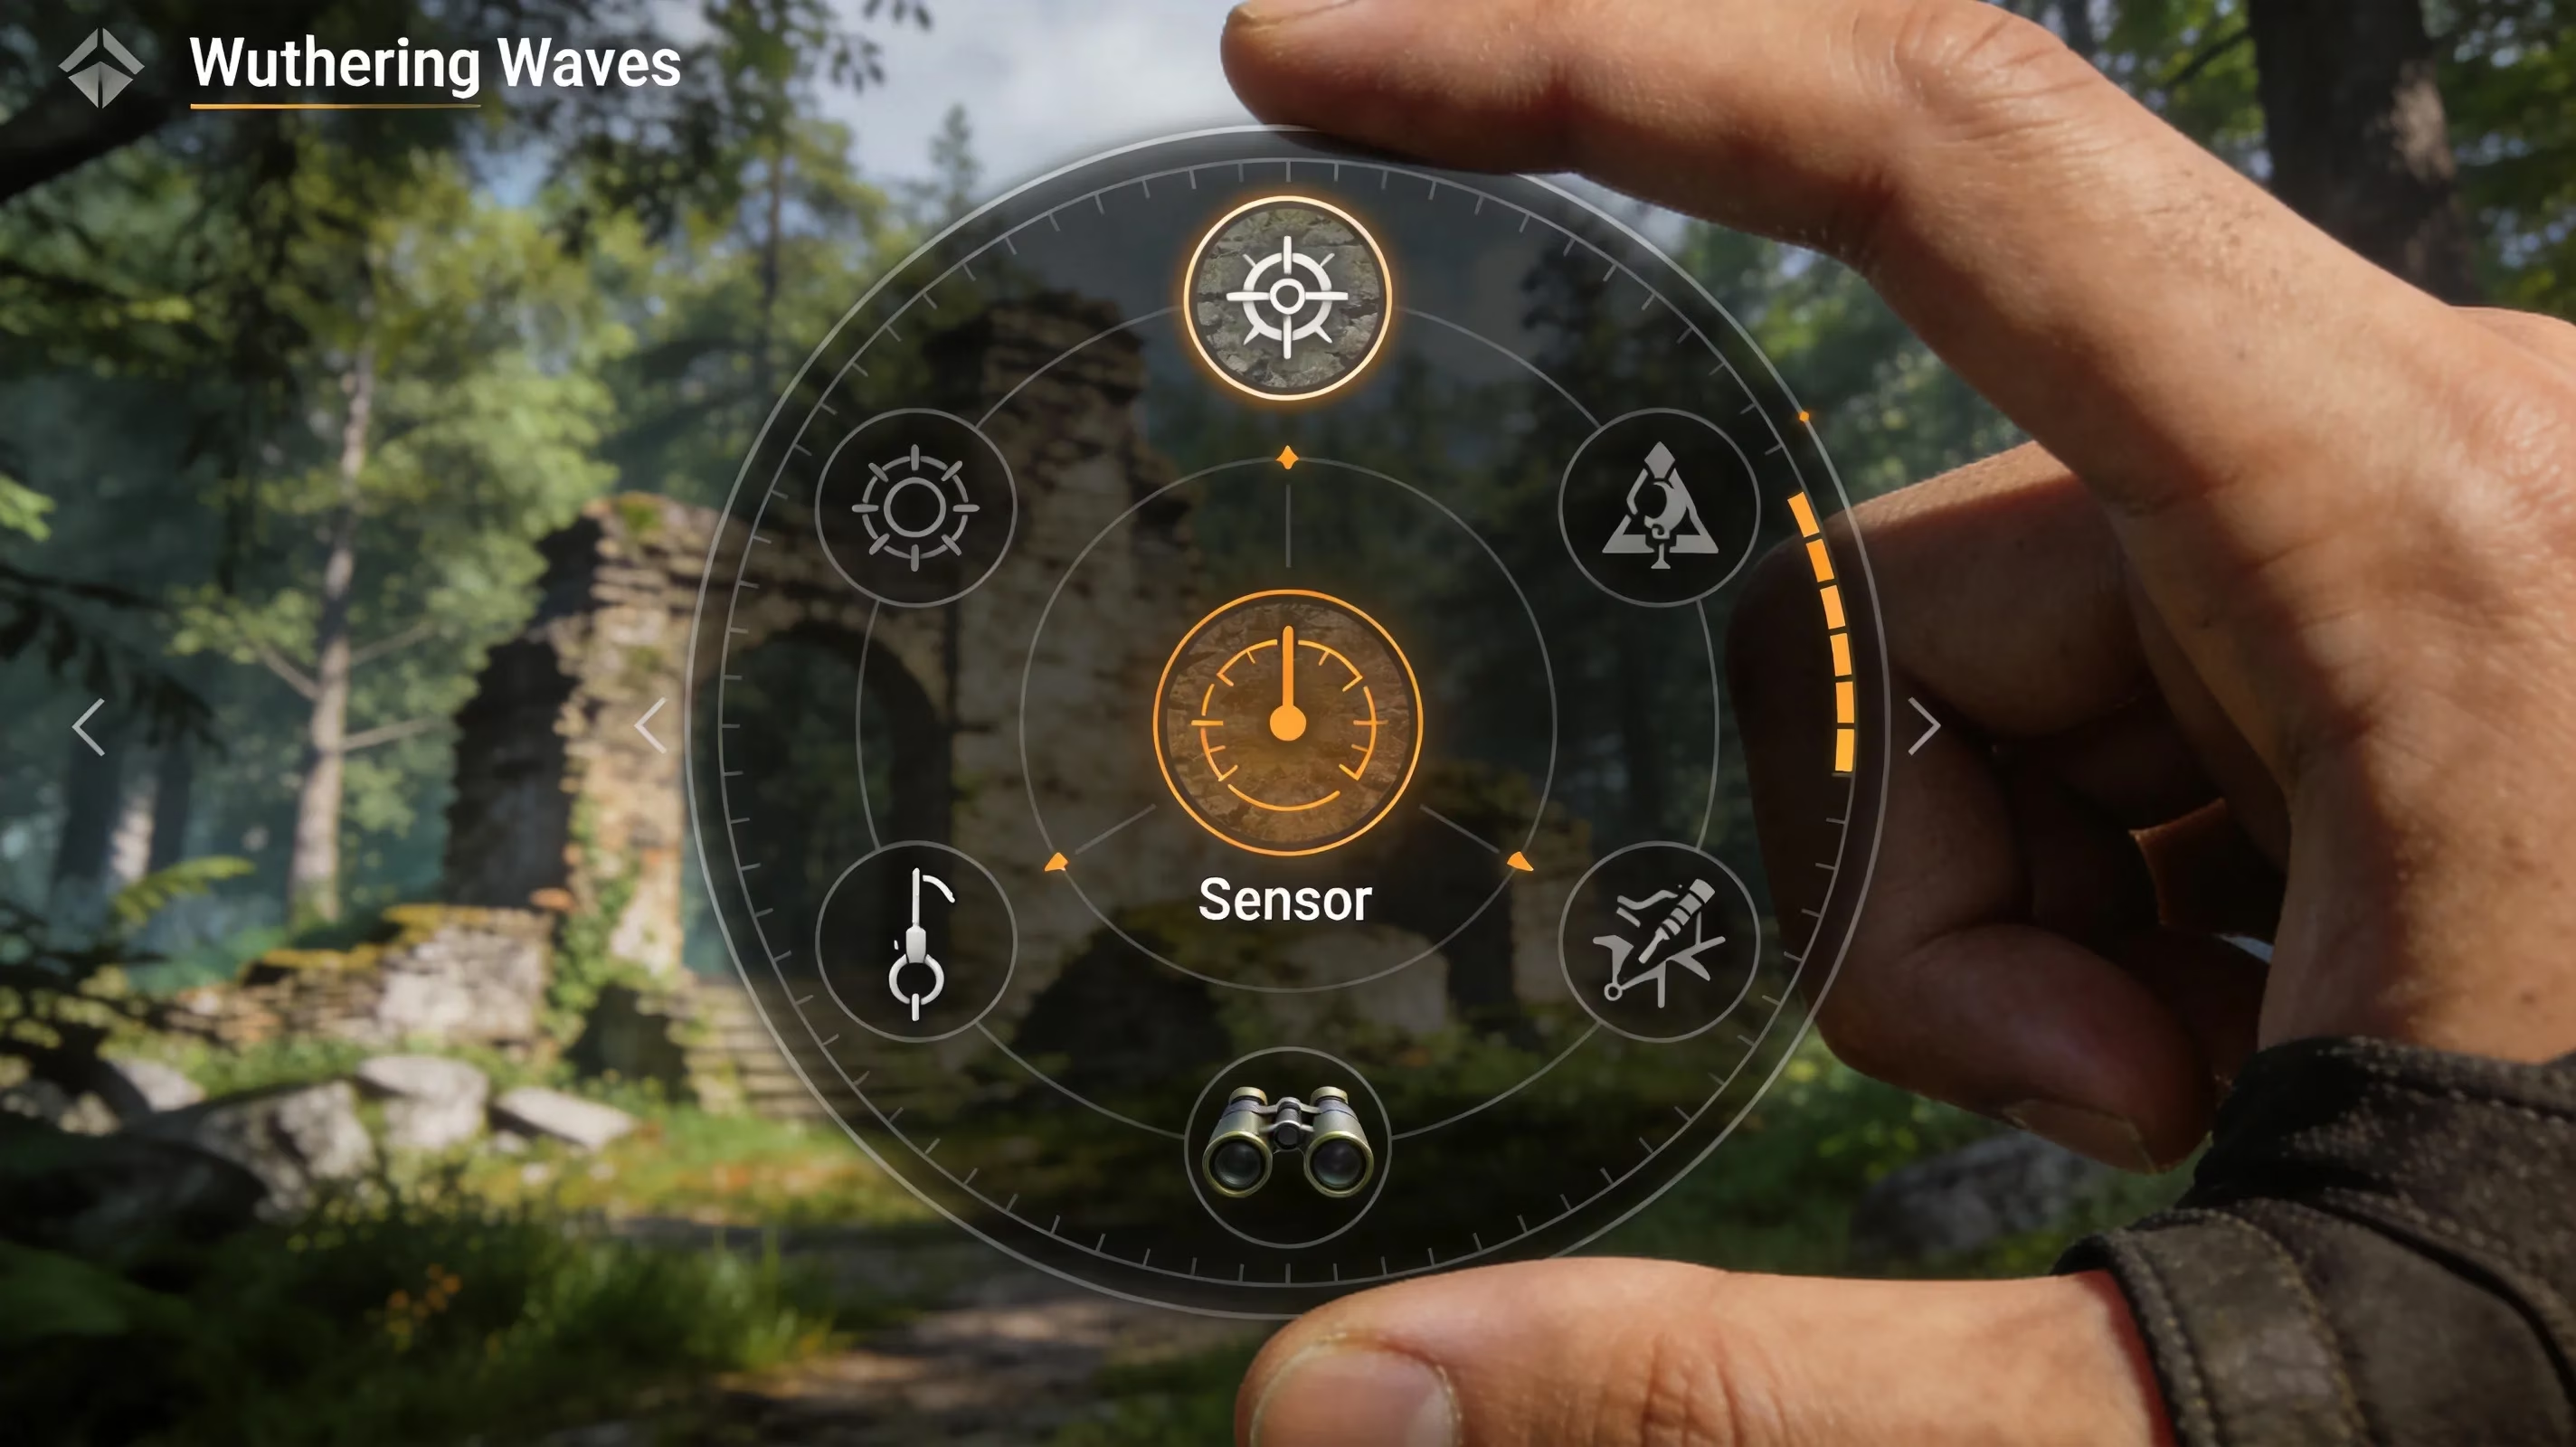
Using the Sensor is pretty simple once you know where the game hides it. First, open the Utilities radial menu by holding your utility key or button. This is the same wheel that includes gadgets like the Lootmapper, Casket Sonar, and Grappling Hook. From there, move to the Sensor slot and equip it as your active utility.
Once the Sensor is equipped, press the activation input to send out a scan pulse from your Rover's current position. That pulse checks the nearby area and highlights valid targets in range with a clear visual effect. You should be looking for glowing outlines on chests, bright markers around quest objects, or pulsing indicators on hidden collectibles.
That last part matters more than people think. If you do not read the feedback correctly, it can feel like the Sensor is doing nothing when it is actually working exactly as intended.
The pulse also has a fixed range, so you cannot just stand in one spot and expect it to cover everything. In bigger areas, you will usually need to move and scan again. If possible, scan from the middle of the area or from slightly higher ground to get better coverage.
Sensor Unlock and Utility Setup
The good news is that the Sensor unlocks pretty early. It comes with the base Utilities toolkit during the opening main story chapters, so most players will have access to it before they even start taking exploration seriously. There is no separate quest chain to chase down beyond the early tutorial sections that introduce the Utilities system.
You can find the Utilities menu through the main in-game menu, usually under the Equipment or Gear tab depending on the current UI version. Inside that menu, you can view every unlocked gadget and assign them to slots on the radial wheel. Each slot holds one utility, and the Sensor sits separately from your other exploration tools.
This is also why players mix it up with other gadgets. The Owlwatch Scanner handles broad chest collection on the minimap, while the Lootmapper gives you a wider loot overview across a zone. The Sensor is different. It is a manual, on-demand scan, which makes it way more useful when you already know the general area and need to pinpoint something specific.
If you want a smoother setup, put the Sensor next to the Grappling Hook on your radial wheel. That quick-swap layout feels much better during active exploration, especially when you're moving vertically and checking suspicious spots back to back.
| Utility | Primary Function | Use Style |
|---|---|---|
| Sensor | Detects nearby hidden chests and quest objects | Manual pulse activation |
| Owlwatch Scanner | Auto-collects chests on map sweep | Automated, area-wide |
| Lootmapper | Marks broad loot categories on the map | Passive map overlay |
| Casket Sonar | Locates buried caskets | Manual, terrain-specific |
Wuthering Waves Sensor Controls by Platform
Controls are one of the biggest reasons players get tripped up on how to use Sensor in Wuthering Waves, especially if they switch platforms.
On PC, you open the Utilities wheel by holding the assigned key from the Controls menu. By default, this is usually mapped near your skill bar or to a number key. Once the wheel appears, hover over the Sensor icon with your mouse and release the key to equip it. After that, one press of the utility input fires the scan pulse.
On mobile, you need to tap and hold the Utilities icon on the HUD. That brings up the radial wheel on screen. Tap the Sensor to equip it, then tap the active utility shortcut button to send out the scan pulse.
On controller, whether you are on console or using a controller on PC, the Utilities wheel opens by holding the assigned gadget button, usually a shoulder or face button depending on your setup. Use the left stick to move across the wheel, then release on the Sensor icon to equip it. From there, press the configured action button to activate the scan. If anything feels off, you can check or change the binding through Settings → Controls → Keybindings, which is the same menu path used for the rest of the game's input customization.
Best Sensor Uses in Wuthering Waves Exploration
The Sensor is at its best when you use it for hidden chest tracking. Wuthering Waves loves to tuck supply chests behind breakable objects, inside narrow cracks, under water, or in thick foliage where they are easy to miss. In those situations, one scan pulse can save you from doing a slow manual sweep of every corner.
It is also extremely useful during quests. Some objectives ask you to inspect clues or find objects that are not marked clearly on the map, and this is where the Sensor starts pulling real weight. It is especially reliable in investigation-style side quests where the game expects you to search the environment rather than follow a bright waypoint.
A very direct example shows up in Version 3.2 during "A Fluffy Prescription," part of the Luuk Herssen event stories. In that chapter, the Rover uses the Sensor to find a runaway cat hiding near a flowerbed. That is a good reminder that the tool is not just for loot; it is baked into certain narrative and event sequences too.
Another strong use case is Treasure Spot challenges. These challenges scatter multiple chests around a defined area, often with time pressure or objective pressure attached. The Sensor cuts down the search time dramatically because you can pulse the area instead of checking every possible hiding place by hand. The Hunt of Ash and Steel event in Version 2.6 even directly told players to use the Sensor for Treasure Spot Challenge I near Hunter's Den, so this is very much an intended part of the gameplay loop.
Cat search events and similar limited-time activities are another place where the Sensor feels almost mandatory. You can technically try to brute-force those objectives without it, but honestly, that just makes the event harder than it needs to be.

Sensor Not Working in Wuthering Waves
If the Sensor seems broken, there is usually a simple reason.
The first thing to check is whether you have the wrong utility equipped. If another gadget is active, your input will still work, just not as a detection scan. Before assuming anything is bugged, look at the active utility icon and make sure the Sensor is actually selected.
The second common issue is range. The pulse only covers a set area, and anything just outside that radius will not be detected. This is probably the most common false alarm. Move closer to the suspected location, then scan again.
There are also quest-only scan zones to keep in mind. In some cases, the Sensor only works after a specific dialogue trigger or story step has been completed. If you use it too early in a quest-gated area, you may get no result at all, even though the quest later expects you to scan there.
Then there are actual UI glitches or loading issues, which do happen from time to time, especially after changing zones or resuming a suspended mobile session. When that happens, the usual fix is enough: return to the main menu and reload, or fully restart the game.
Wuthering Waves Sensor FAQ
Sensor vs. Owlwatch Scanner — which is better?
Neither is strictly better because they do different jobs. The Owlwatch Scanner is better for broad map sweeps and automatic chest collection across large areas. The Sensor is better for close-range detection, especially for quest objects or event targets that the Owlwatch Scanner does not handle well.
Sensor vs. Lootmapper — when should you use each one?
Think of the Lootmapper as the macro tool and the Sensor as the micro tool. Lootmapper tells you which part of a zone still has loot worth checking. Once you are inside that sub-area, switch to the Sensor to narrow things down and find the exact object.
Can the Sensor find everything?
No. It can detect chests, certain quest objects, and event-specific targets that fall within its scan rules. It does not reveal Echo enemies, gathering materials like specialty plants or ores, or environmental puzzles unless the game specifically flags them as Sensor-compatible during a quest. So no, it is not a one-button exploration solution.
When is the best time to use the Sensor?
Use it during Treasure Spot challenges, investigation quests involving hidden or lost objects, cat or creature search events, and in areas where your exploration completion is still missing items even though the minimap looks empty.
Conclusion
Once you understand how to use Sensor in Wuthering Waves, exploration gets a lot less messy. Equip it from the Utilities wheel, fire the scan pulse in the right area, and pay attention to what the highlight feedback is actually telling you. If you pair it with tools like the Owlwatch Scanner and Lootmapper, you get a much smoother exploration routine that works on both the big-picture and close-range level. For anyone working through Version 3.2 and beyond, keeping the Sensor in your regular loadout is just good habit. It helps you find hidden chests faster, clean up quest objectives with less guesswork, and keep moving through Solaris-3 without wasting time.