Ah, the Sea of Bygone's. HoYoVerse's 2025 expansion to Fontaine's watery depths promised sunken treasures and forgotten melodies, but for many a Traveler, it first delivered a perplexing puzzle and some surprisingly punchy rock monsters. The world quest "In The Hall Of The Sea King" serves as the golden ticket to this new underwater playground, and unlocking it is as simple as paying a visit to the Statue of the Seven in the Nostoi Region. No long-winded prerequisite chains here—just a quick chat and you're plunged straight into the action. It's a classic Genshin one-two punch: first, tickle your brain with a musical conundrum, then test your brawn against some overgrown garden statues with anger issues.
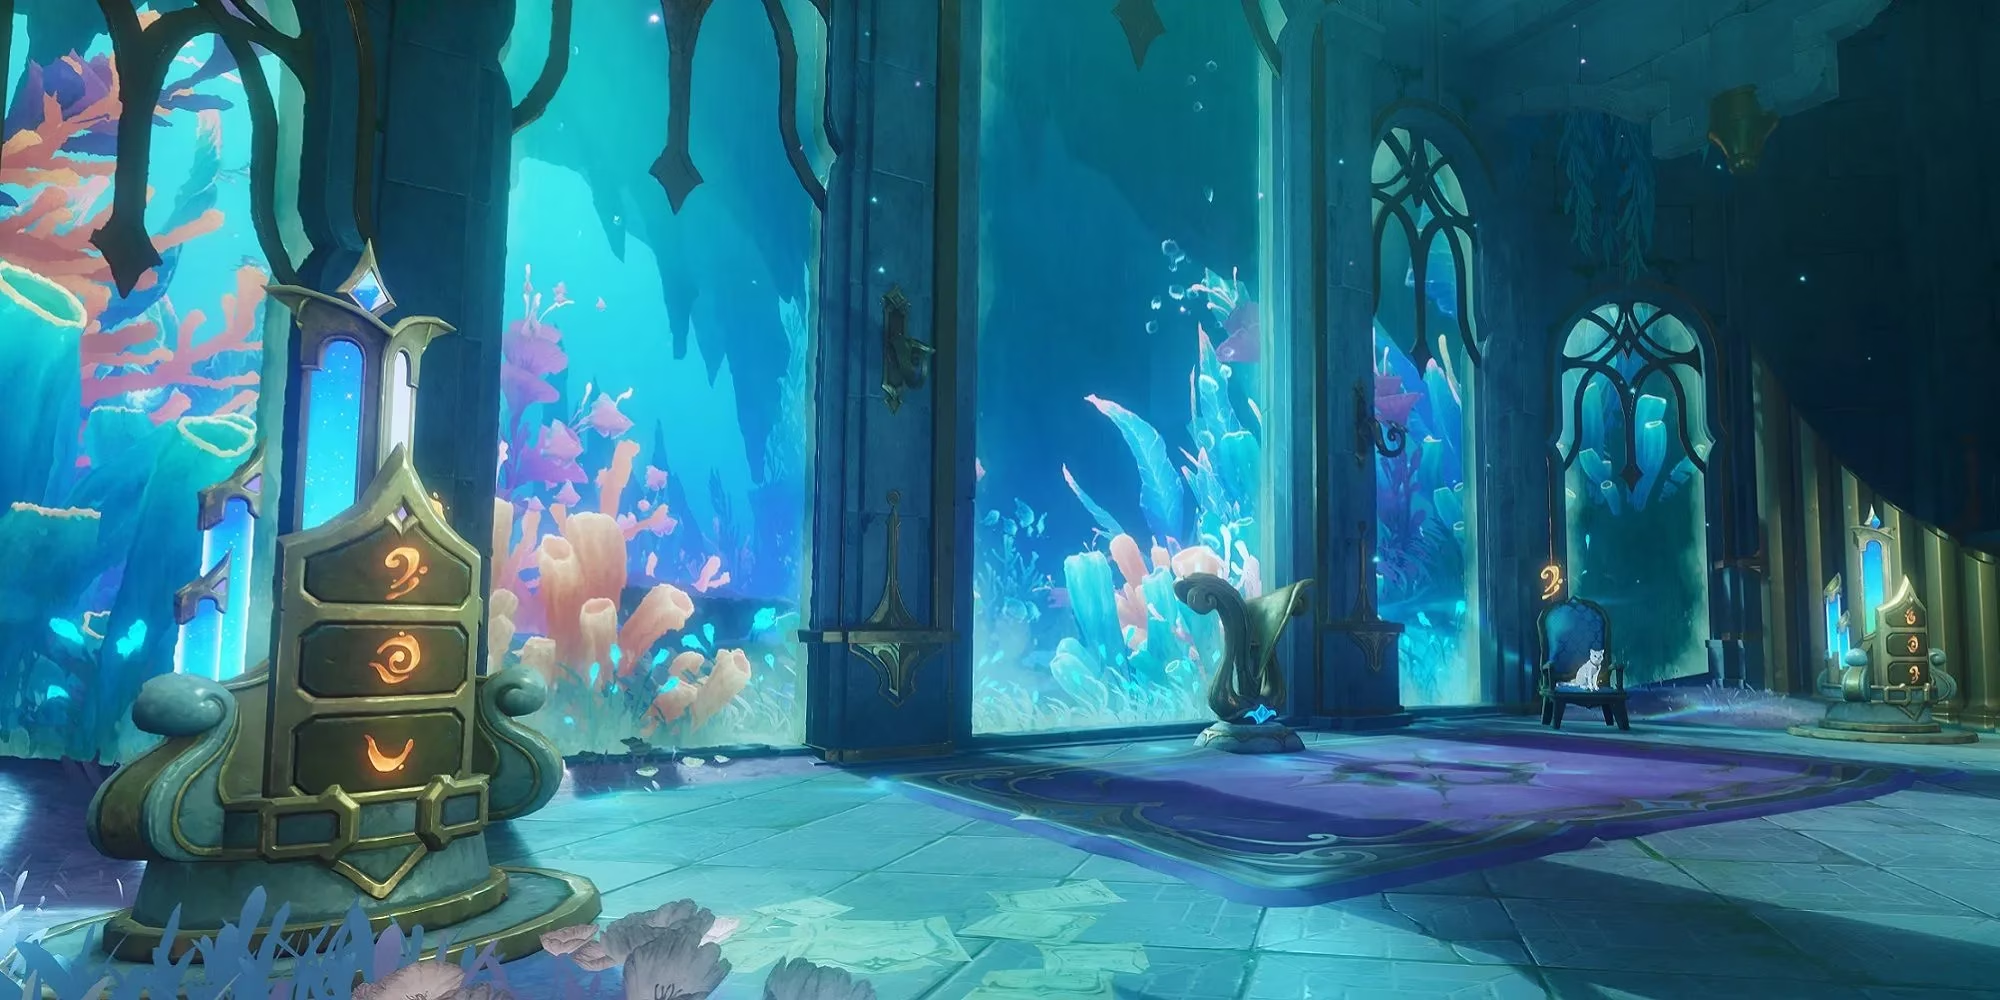
Now, about that brain-tickler. After the introductory dialogues fade, you'll be faced with the ominously named "Blank Score Puzzle." The game, in its infinite wisdom, gives you instructions so vague they might as well be written in ancient Seelie script. Fear not! The solution is hilariously straightforward, provided you remember your new aquatic toolkit. The key lies in the Power of Symphony, that funky new underwater ability that lets you interact with special mechanisms. Your target? The nearby Autoharmonic Reed Pipes. Don't get stage fright! Simply swim up, activate your Symphony skill, and give those pipes a little tune-up. But wait, there's a twist! 👀
Don't just blast the pipes and hope for the best. Be a detective! Glance at the wall nearby, and you'll spot a simple musical score or symbol etched into the stone. Your job is to use the Symphony skill to adjust the dials on the Reed Pipes until they match that wall diagram. Think of it like tuning an old radio to the right station—a few twists here, a tweak there, and voilà! The puzzle hums to life and solves itself. It's a moment that makes you feel like a genius, immediately followed by the realization that you probably overthought it for a solid five minutes.
With the musical mystery solved, the quest marches on to its grand finale: a good old-fashioned smackdown. Your mission? To explore the Faded Castle and deal with its four stone-cold (literally) guardians: the Golems.
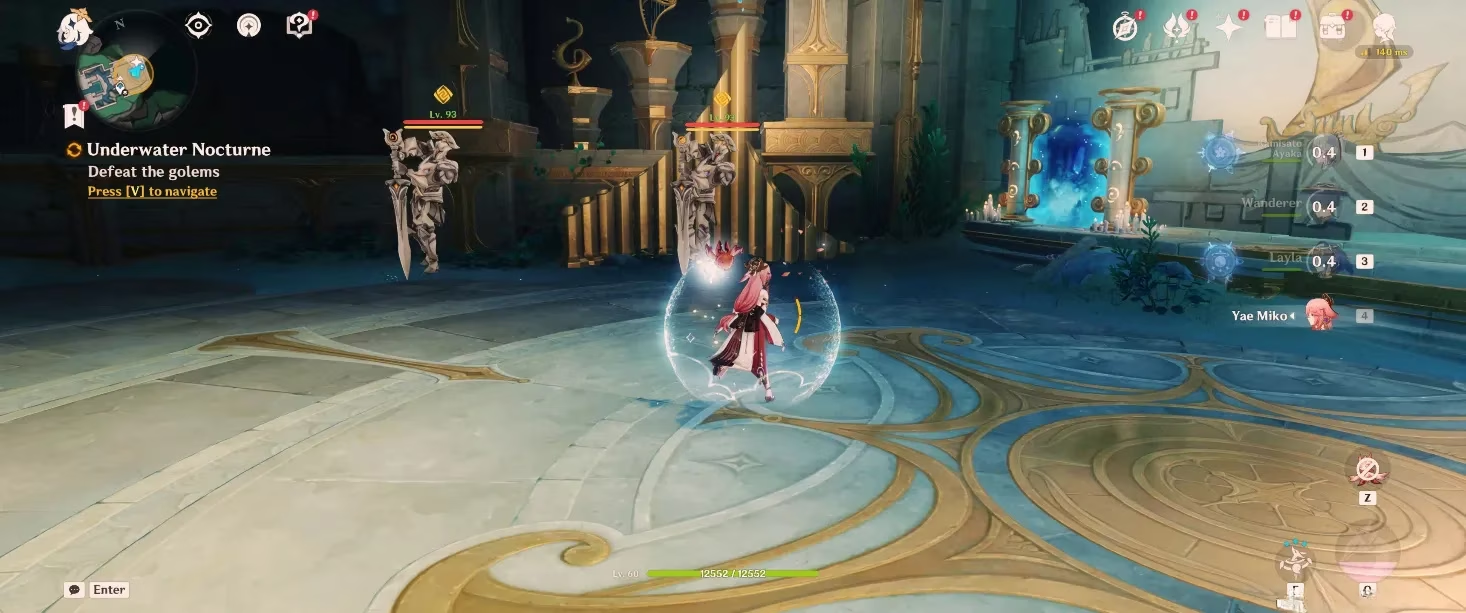
Let's be clear about these Golems. They aren't your average, leisurely-paced Hilichurls. These guys pack a serious geo-punch, and their hits can send your health bar plummeting faster than a Waverider down a waterfall. The golden rule here is: DON'T JUST STAND THERE! Constant movement and well-timed dodges are your best friends. But here's the pro-tip that turns a slog into a breeze: every one of these rocky brutes is protected by a sturdy Geo Shield. Trying to chip away at that with a Hydro or Electro character is like trying to eat soup with a fork—frustrating and largely ineffective.
Do yourself a massive favor and bring a Geo character to the party.
Characters like Zhongli, Noelle, or even the meteor-happy Ningguang will make those shields shatter like cheap pottery. Once the shield is down, the Golem becomes significantly less threatening, and you can wail on it with your main DPS. The party setup can make all the difference:
| Recommended Role | Character Examples | Why They Rock (Pun Intended) |
|---|---|---|
| Geo Shield Breaker | Zhongli, Noelle, Arataki Itto | Their Geo attacks obliterate the Golems' shields efficiently. |
| Primary DPS | Any strong damage dealer (Hu Tao, Raiden Shogun, etc.) | For dealing massive damage once the shield is broken. |
| Healer/Support | Kokomi, Bennett, Kuki Shinobu | Essential for surviving those heavy Geo slam attacks. |
| Flex Slot | Anemo grouper, sub-DPS, or shielder | For crowd control or extra damage/defense. |
Now, for the bold and the brave, there's a choice to make. The four Golems are strategically placed in two pairs, one on each side of the castle area. They remain dormant until you swim into their personal space. You have two options:
-
The Tactical Approach: Engage one pair, defeat them, heal up, then take on the second pair. This is the safe and sane method, highly recommended for those who value their culinary stamina (no one wants to eat all their Sweet Madames in one fight).
-
The "Let's Cause Chaos" Approach: Aggro one pair, then quickly swim over and wake up the second pair for a glorious, chaotic 4-vs-1 battle royale. It's chaotic, it's intense, and it's a surefire way to test your team's survival limits. Not for the faint of heart, but immensely satisfying if you pull it off! 💥
Once the last Golem crumbles into a pile of mundane stones and adventure EXP, the quest concludes. The path to the full expanse of the Sea of Bygone's is now clear, its sunken ruins and hidden mechanisms awaiting your exploration. So tune those pipes, shatter those rocks, and dive into the next chapter of Fontaine's ever-deepening story. The abyss isn't going to explore itself!